
Milo | Enter The Simulation
All Milo Commercials consist of 3 things. The action packed life of a school kid. A killer music track. And a sequence of chocolaty goodness that you wish you could taste through the screen.
This is how we created that sequence.
Malt beverages such as Milo, usually show the individual key flavours coming together to make the final beverage we all know and love. This type of sequence of this magnitude was a new challenge for us, and accounted for a lot more trial and error than we anticipated.
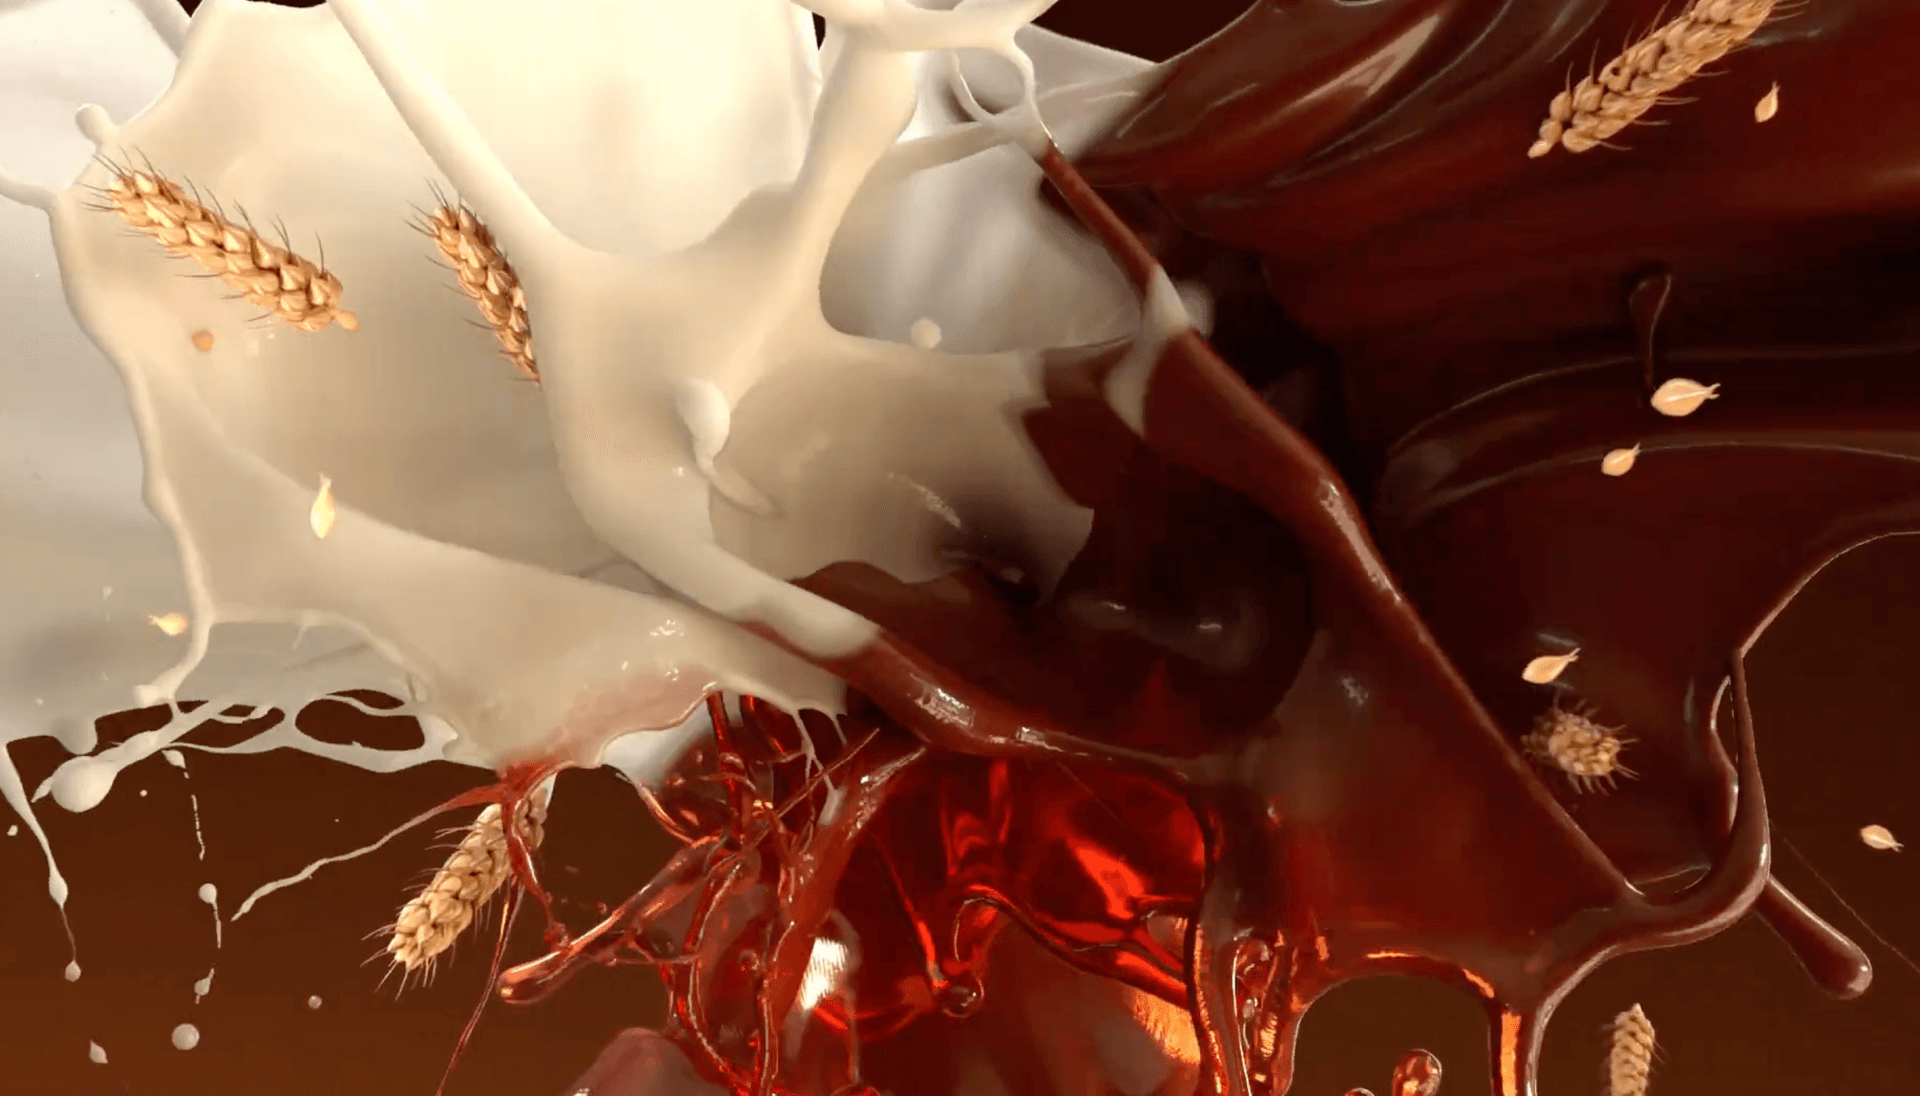
The product window shows 3 liquid streams of malt extract, milk, and chocolate spiralling together into one big splash that forms the new 125ml Milo pack.
Upon the start of this project, high-quality liquid simulations remained elusive, as all the attempts that I’ve made in the past using Blender’s fluid simulator resulted in meshes that came with unusable levels of jitter. Blender’s fluid simulation tools were frustratingly cryptic to navigate and the process more or less revolved around tweaking sliders with technical parameters, and waiting 20-30 minutes only for an unusable simulation to come out the other end.
So the initial approach to this project was simply to avoid simulations altogether (as much as possible).
Mesh Curves and Animated "Simulations"
The initial idea was to have three streams of malt extract, milk, and chocolate descend from the top of the screen and spiral into a big splash of milo. This way, the streams that would require more precise movements can be created with pre-modelled liquid meshes and the big splash could be created with a simulation, hence, best of both worlds.


The Initial Storyboard
The initial meshes were hastily modelled and projected onto a curve that the stream was to follow, and the liquid meshes were displaced on top so that the liquid would have secondary 'blobular' movements, to try and mimic liquid.

The First Mesh Iteration
The grain stems were created using a little thing called Geometry Nodes. If you're a fairly intermediate Blender user, you may know what i'm talking about. For those that don't, its a much simpler way of creating complex assets such as these, without modelling the entire thing from scratch for hours on end. So essentially what I've done here is create one grain, and then using geometry nodes, repeated that single model across a stem, in a way that makes it look like an actual modelled grain. This is an extremely flexible workflow, especially if the client has requests to change the length of the grain, or some minute detail.


The Grain Stem Geometry Nodes Setup
As for the formation of the Milo package, geometry nodes came in handy again to create a quick morph animation of where the liquid forms into the pack. I could get into the nitty gritties and tell you how I used ico-spheres as proximity meshes, but the picture looks much cooler.

The Initial Formation Effect
Here's a sneak peak into the initial renders!
The Devil in The Details
Now this is where we shove simulations down the water hole because time is fickle and in short supply when it comes to a 3D workflow. It's suffice to say that the first iteration needed a lot of work, the most obvious being the appearance of the liquid itself.
The simplest solution to this was using sculpted liquid mesh assets. Along with these meshes and using something we call 'Armatures' that consist of 'bones', I animated the sculpts to the clients liking. Safe to say it was quite smooth.
