
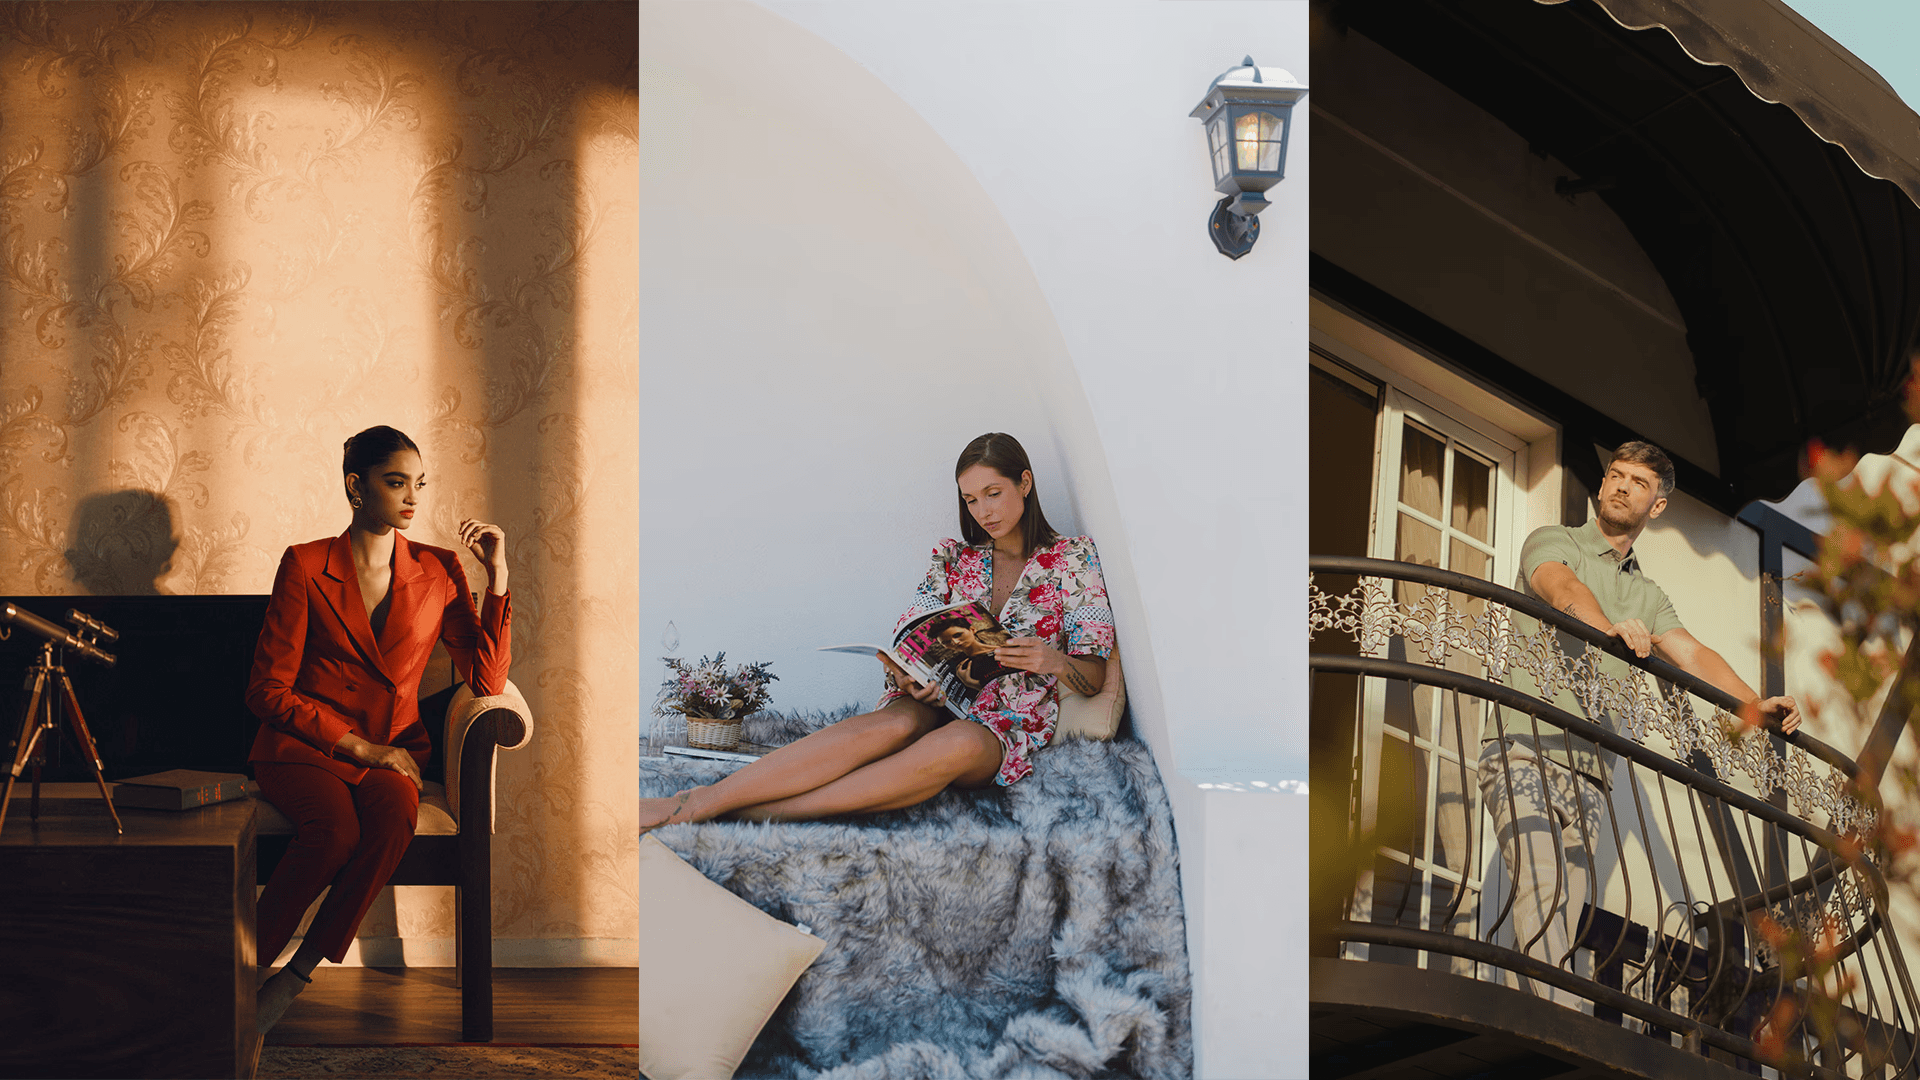
A Beginner's Guide to Shooting Fashion Projects
Fashion projects are a unique mix of creativity and strategy, where bringing ideas to life means balancing artistic vision with practical planning. Whether you’re shooting for a brand, a designer, or building your independent portfolio, it’s all about nailing the details—understanding the client’s needs, organising the logistics, and staying adaptable when things don’t go as planned.
To make it easier, we’ve put together a beginner’s guide packed with tips to help you navigate the process, from the first idea to the final shot :)
1. Understanding Client Needs
Most fashion projects start with the client reaching out. They often provide a rough idea of what they want, like a mood board, a reference video, or some visuals. However, clients may overlook the logistical and creative complexities involved in making their vision a reality.
Your job is to assess their input and refine it. Consider:
Feasibility: Does their vision align with the budget and timeline?

"I've shared some references from Gucci & Louis Vuitton, we have a total budget of LKR 100,000, I hope that's sufficient"
Logistics: Can the required location, models, and props be arranged?

"We want to shoot in a location that looks straight out of LoTR"
Execution: How do you adapt their inspiration to practical, high-quality deliverables?
2.Planning Locations and Logistics
Location scouting a.k.a recce is crucial for fashion shoots. If time allows, visit the location beforehand to assess its suitability. Consider factors like lighting, accessibility, and frames for shooting. If pre-visits aren't possible, spend 30 minutes on arrival planning your shoot.

Location scout with Director, DoP and Photographer
Key things to plan:
The Sun's Movement: For optimal lighting throughout the day. Understanding the sun's movement and key periods (golden hour, twilight) is essential to achieve the intended look and feel. These usually vary based on the month/season and your location itself (Europe would have different light conditions compared to countries closer to the equator). Here are two apps that we utilise to track the sun’s movement throughout the day as we go about a shoot. One tracks the sun’s direction Click here; while the other tracks both the sunset and sunrise times. Click here.
Flow: Map out how you’ll move through the location to maximise efficiency.

Here is a plan for an imaginary lifestyle shoot that is scheduled to happen in Galle Fort, with the sun rising from the right and setting on the left side of the reference map, our path allows for you to utilise the nice soft light we receive in morning in the beach front and then move into the streets of Galle fort in midday where the sun is high up on the sky. As the day progresses towards evening we can move to the west side of the fort once again, utilising the soft golden hour light.
Breaks: Schedule breaks strategically, e.g. During harsh midday lighting for power naps :)

3.Aligning with the Client's Vision
Clients often provide mood boards or sample visuals to convey the desired look and feel. While helpful, these references might need refining. Always shoot with the final result in mind.
Lighting Choices: Use harsh light for dramatic looks or soft light for elegance.
Colour Tones: Match seasonal themes (e.g., muted tones for autumn-winter collections).